

HandcrafT

Design
First, I come up with designs that will balance serious utility and gracious appearance. I test each new design personally and then send a few samples out to friends for real-life use and feedback. New products are given a name and added to our line up only after adjustments have been made and the products have been successfully retested.
Materials
Next, I select my materials. My studio is often stocked with a mix of vegetable and chrome-tanned leathers from the United States and abroad, a range of sides and smaller pieces in varied colors, some top-of-the-line selects, and a collection of so-called “lower grade” hides that have loads of character. I spend perhaps too much time mixing and matching colors and textures. This part is fun: I love the dissonance of pairing a high-end Horween Chromexcel leather with ghost-camouflage Italian leather to create something you won’t find anywhere else. I also enjoy setting raw-edged pockets and exterior flaps against buttery, smooth bags and journal covers.


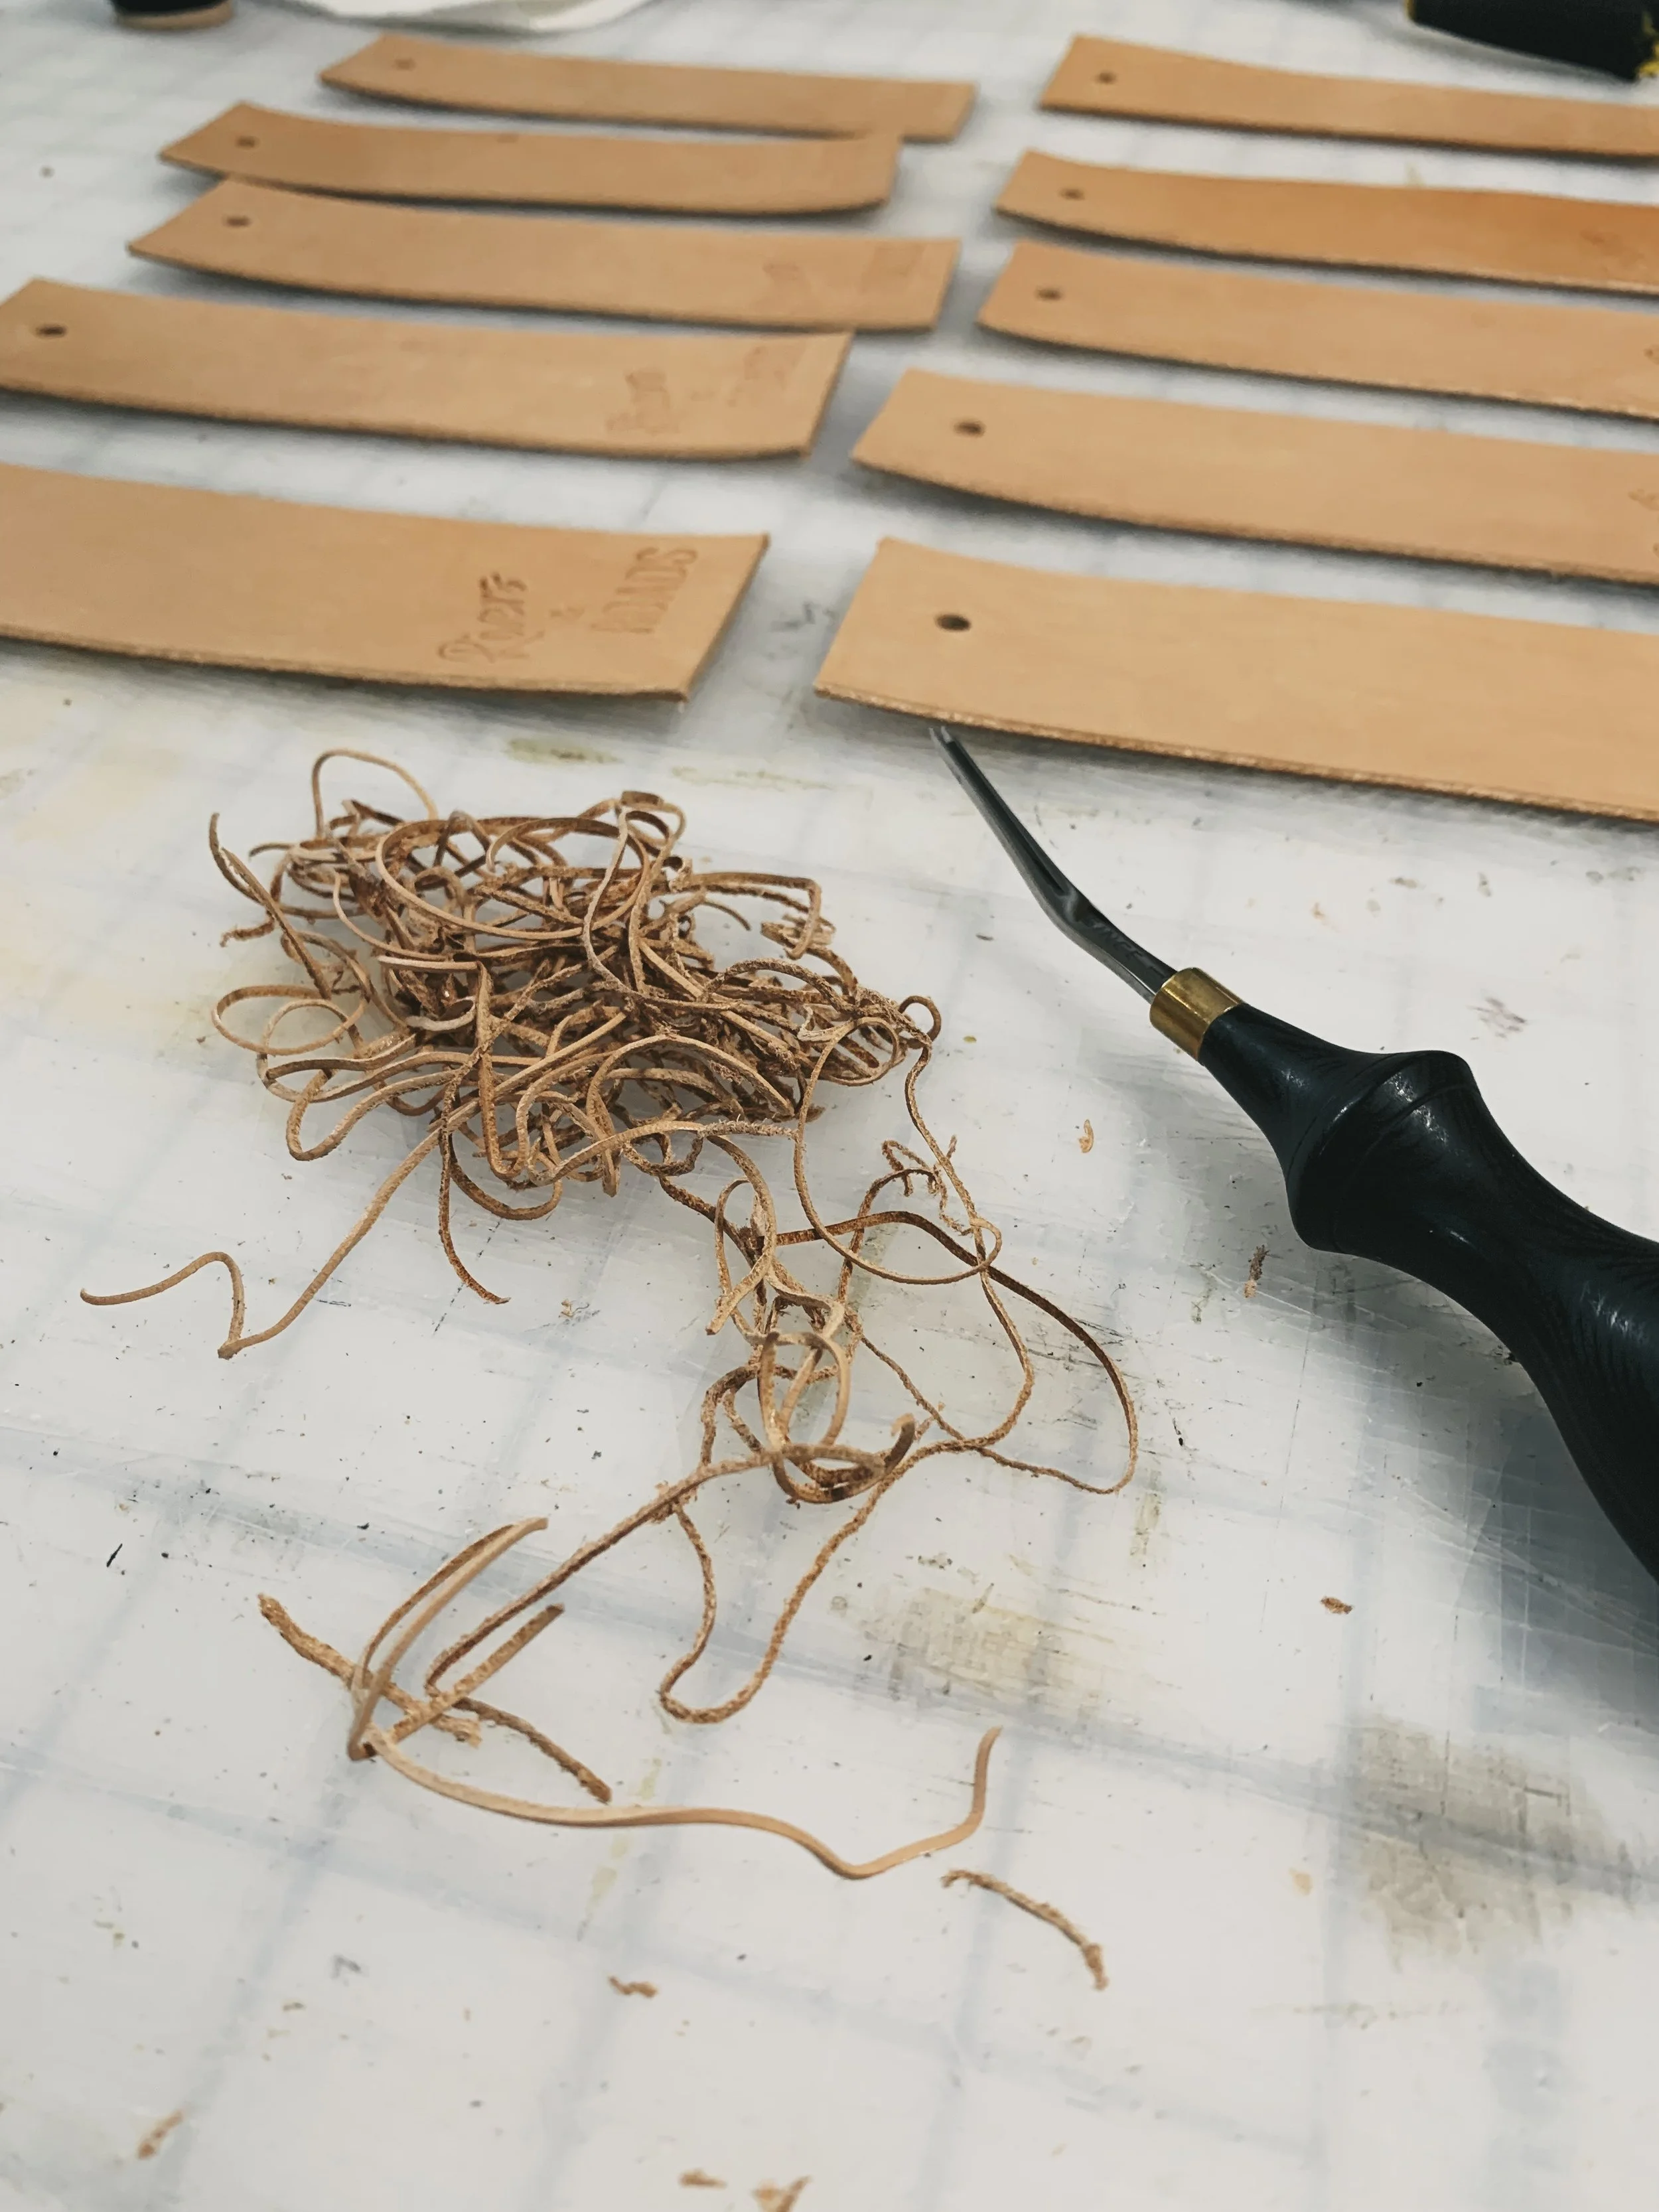
Placement
Before wielding my very sharp crescent knife, I intentionally position pattern pieces to allow the (im)perfections of each hide to shine, while also seeking to avoid waste. In addition to trying to take advantage of natural variations in the leather, I also make sure that each piece I use will hold up well to the kind of use it will get.
Putting it together
Then, I piece, stitch, rivet, and finish all of my small goods by hand. Occasionally, my fingers guide larger pieces of leather through a Sailrite Leatherworker sewing machine to bind longer seams (such as the side seams on our totes) or to affix canvas to leather
Finishing… FOR NOW
Between assembly and completion, there are several steps that add immeasurably to the quality of a piece. Often, I’ll use a Dremel to the burnish edges to a shiny, smooth finish. I also condition the leather to make sure it is moisturized and pliable. This step sets it up to wear well and should be periodically repeated by the piece’s eventual owner.